Table of Contents
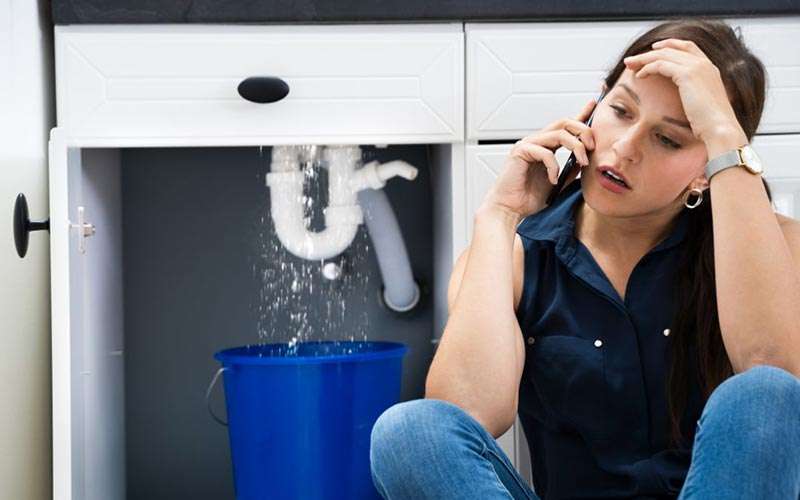
There are several factors why water damage occurs under a kitchen sink, these include leakage, choked drains, or overflows. Additionally, it causes mildew and molds apart from ruining the cabinet and flooring if not urgently responded to. This can also lead to health risks if not attended to on time as well as costly repairs. It may seem hard to repair water damage under kitchen sink; however, it is easy with the right tools and techniques. This article describes how you can repair water damage under kitchen sink in a manner that will prevent future reoccurrence.
Key points
- The causes of water damage in the kitchen sink are leaking, obstruction, pipe problems, defective fittings, and pipes that have gone bad.
- Such signs include stains or curves on the cupboard or floor, rotten smell, and the presence of molds or mildew.
- Check for standing water to locate the leak, inspect visible leaks at pipes and connections then touch the pipes to feel for wetness.
- Examples of such tools include adjustable spanners, screwdriver packs, utility knives, and safety appliances.
- Routine maintenance and inspections can help you prevent such extensive water destruction from occurring.
Signs of Water Damage
Look for some common signs that may show water damage under the kitchen sink, one of which is wetness on the bottom of the cupboard. Whenever you see them, it is worth doing something about it to prevent any more damage.
- Discoloration or warping of the cabinet or flooring
- Musty odors
- The presence of mold or mildew
- Water stains on the walls or ceiling below the sink
- Soft or spongy areas in the cabinet flooring
- Loose or cracked tiles around the sink area
- Dripping sound or visible leaks under the sink
- Higher than usual water bills with no explanation
- Rust or corrosion on pipes or plumbing fixtures under the sink
- Difficulty opening or closing cabinet doors due to swelling or warping.
How to find leak under kitchen sink?
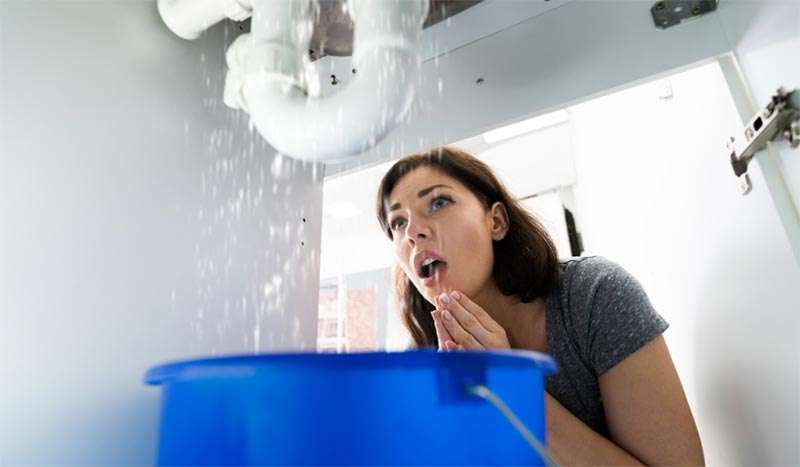
At first, inspecting leaks under a kitchen sink can seem like a difficult task, but with the right tools and techniques, it will be easy. So, how to locate a leak underneath your kitchen sink.
- Check for water pools or some drenched spots within the cabinet or on the floor.
- Opening the tap and checking whether there is any water dripping out of it
- Check if there are visible signs of moisture around the pipes
- Touch them using your hand to feel if they are leaking in any way or have condensation
- Have a look at other pipelines for signs of corrosion such as rust and discoloration
- Use torch light to check under sinks and back sides of cabinets
- Look out for continuous water flow in a water meter which could mean that there is a leakage.
Reasons for water damage under the sink
The water damage under the sink in the kitchen may be caused by different factors like leakage, blockages, and plumbing problems. To fix it properly and avoid similar issues in the future, it is necessary to find out why it happened.
1. Sink and faucet
Kitchen sink water damage is caused by various leaks, blockages, and plumbing problems. To prevent it from happening again, it should be fixed properly once and for all by finding out what caused it.
2. Dishwasher
A dishwasher can also spoil your sink in the kitchen. If your drain pipe for the dishwasher is packed or not well placed during installation, water will flow back and leak under your sink. It is therefore important to check the drainage system and coolers for any damages regularly.
3. Refrigerator
Just like a dishwasher, a fridge may cause flooding below kitchen sinks. The latter may be caused by any leakages or malfunctions in case it has an ice maker or water dispenser connected to the water supply.
4. Garbage disposal
Also, when disposed of improperly, garbage disposal can cause leaks under a kitchen sink leading to water damage. In case there are any damages on some parts of the disposal unit like clogging or rusting you should however expect floods from it at times.
5. Water pipes
Another possible source of water damage under a kitchen sink could be failing pipes that have corroded over time or have suffered wear and tear leading to either bursts or leaks; freezing temperatures may also lead to this problem.
6. Water cooler
Furthermore, the attached water cooler might flood under a sink if not properly placed there or if leaking occurs as well.
How to repair water damage under kitchen sink?
In the first place, to repair water damage under kitchen sink, look for and correct leakage or causes of water. Let’s take a look at the items commonly needed for fixing water damage beneath the kitchen sink as well as processes.
Some common tools you need to repair water damage under kitchen sink:
- Adjustable wrench
- Screwdriver set
- Utility knife
- Wood screws
- Stud finder
- Drill
- Drywall saw
- Bucket
- Rubber gloves
- Safety goggles
- Drying fan
- Dehumidifier
- Mold and mildew cleaner
- Drywall patch kit
- Waterproof sealant.
Steps to repair water damage under kitchen sink
Now let’s check the steps to repair water damage under kitchen sink.
1. Dry any water spots
Start by drying up any water spots or standing water underneath your kitchen sink that is damaged by water. Also, clean any visible remnants with towels or mops while placing buckets below active drips. Furthermore, you can use a dryer fan or dehumidifier to draw moisture from surrounding areas and the air itself to prevent mildew and mold growth and also help spot where the leak came from.
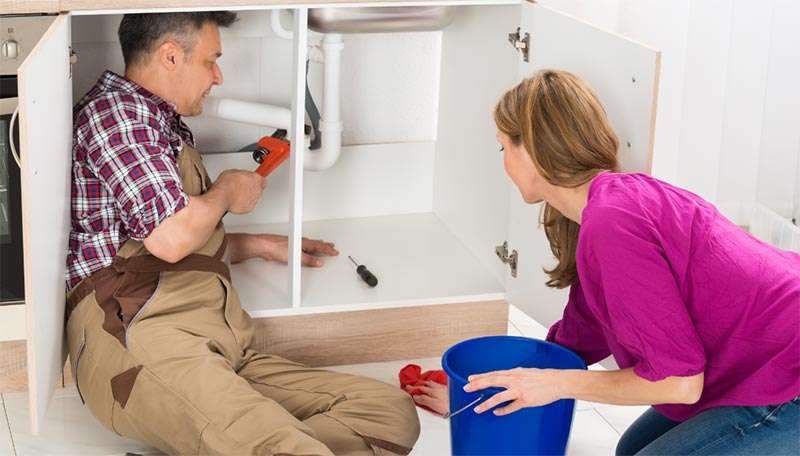
2. Identify and fix the source of the leak
The other thing is ensuring that where it is already dry; leaks are fixed there. Examine the sink, faucet, and dishwasher as well as other fixtures close by for signs of leakage or damage. In case there is any leaking pipe, tighten its connections or replace the affected part. Similarly, in case of an impaired faucet/sink, you might need to get another fixture altogether. However, what matters most is stopping further destruction by dampness by repairing its source.
3. Remove damaged materials
Fix the source of the leak before removing any damaged materials such as cabinet flooring, drywall, or insulation which are prone to mold and mildew. Cut away any damaged drywall using a utility knife and clean off mold or mildew with a specific cleaner for these types of growth. If the cabinet flooring is destroyed, remove and replace it.
4. Clean and sanitize the area
Clean up the area properly after removing all damaged material. This will prevent both mold and bacteria growth. Wash around with warm water blended with detergent gently then disinfect by either using equal parts water and white vinegar solution or household cleaners like bleach for example. Wait until all moisture has evaporated before proceeding to carry out repairs.
5. Replace damaged materials
Change any spoilt items once everything is cleaned up and dried out. Such could be in the form of cabinet flooring, drywall, or insulation among other things. For instance, we can use a drywall patch kit to fix holes in walls and secure new floorings using nails made of wood rather than screws made of metal only. Ensure that all pipes are well sealed or replace those that have been damaged completely. This helps keep you safe from future occurrences of water damage in your house..
6. Regular maintenance
To avoid future water damage beneath the kitchen sink, it is crucial to always service the sink, faucet, and other nearby fixtures. Conduct frequent inspections to determine any leaks, breaks, or corroded parts that ought to be attended to at once. Also advisable is thorough cleansing and inspection for signs of dampness or mold. Simple prevention measures and constant maintenance of the sink area can prevent high expenses in the future due to water damage.
By following these steps and maintaining your sink area regularly, you will be able to prevent further water damage in your kitchen while keeping it in good shape. If there are extensive damages or one is unable to fix them by themselves the best thing to do would be to consult with a professional.
How to remove mold under kitchen sink
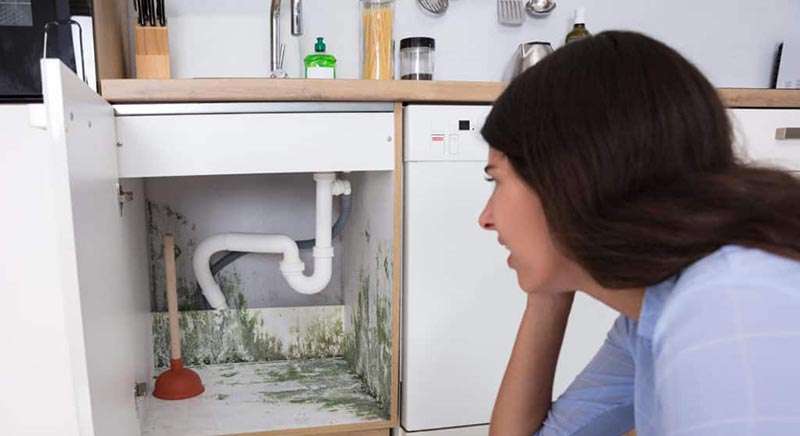
Here, let’s see how to remove mold under the kitchen sink.
i. Inspect the mold infestation
Thoroughly examine all mold-infested areas before starting the remediation process. This includes under-sink space as well as other areas such as surfaces near cupboards. This will help you determine how severe the mold infestation has become so that necessary steps can be taken towards its elimination.
ii. Wear protective gear
While dealing with molds, ensure that you put on the right protective gear to prevent potential health risks. This could involve gloves, a face mask, and safety goggles.
iii. Ventilate the area
Ensure that your work area is well-ventilated before starting the cleanup process. You may also open windows and turn on fans to allow fresh air into the room. Such efforts prevent mold spores from spreading and make the removal more bearable.
iv. Use mold and mildew cleaner
When getting rid of mold under the kitchen sink, use a special cleaner for mold/mildew. Afterward, let it stay there for some minutes before using a brush or sponge to scrub it.
v. Dry the area
Use a drying fan or dehumidifier after cleaning to dry up the place completely. Before replacing any damaged materials in order not to grow mildew or have moisture problems in the future make sure that an area is dry.
It may be necessary to replace such items as cabinets or flooring if extensive mold growth has occurred or damage has taken place. The best way to stop having molds beneath your kitchen sink would be the prompt fixing of leaking water pipes as well as frequently examining any signs of wetness in this region.
How to waterproof under kitchen sink
To ensure waterproofing of your kitchen sink, some steps should be taken to prevent any water damage and mold growth. Initially, all leaks or plumbing problems must be identified and repaired. This will help you avoid water collecting beneath the sink’s cavity which leads to damage. Then, properly sealing all connections with a waterproof sealant so as not to let any water through is essential. Similarly, one can utilize waterproof tape or caulk for filling small spaces or cracks. Moreover, installing a leak detector device below this sink can assist you in knowing about any future leakage chances thereby preventing extensive losses.
Another way of making the area under the sink waterproof is putting a layer of waterproofing membrane or moisture-resistant paint on the walls and bottom cabinet surface. It aids in preventing seeping into any material surrounding when there is a chance of leaking from taps or pipes. Also ensure that before applying any materials that are used for waterproofing, clean and dry it well enough.
Conclusion
An important thing for a kitchen is to repair water damage under kitchen sink part and the prevention of any future occurrences. Water damage and mold growth can be prevented by regularly maintaining, and properly sealing plumbing connections, fixing leaks, and conducting regular inspections. Immediate response to water-damaged areas should be given to stop further problems.