Table of Contents
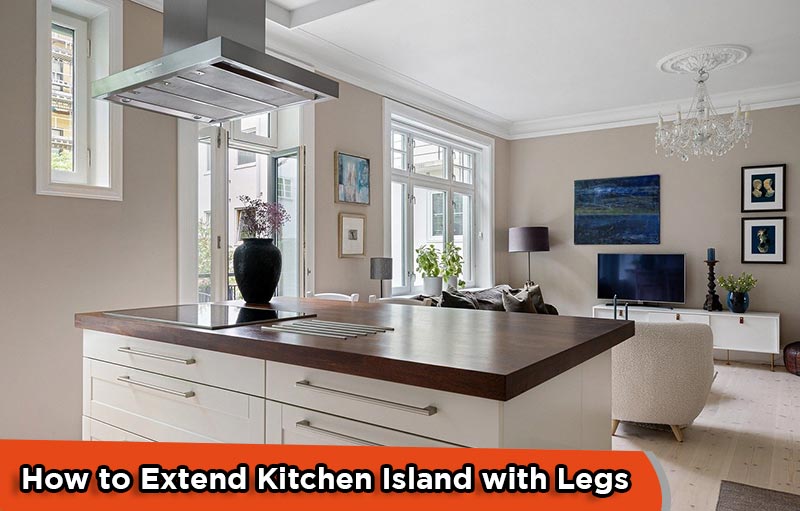
Extending a kitchen island with legs is a practical and creative option for individuals who want to improve the usefulness as well as the aesthetics of their cooking space. Adding legs to your current island may be a gratifying project whether you need more countertop space for meal preparation, a quiet breakfast bar, or just want to redefine the visual appeal of your kitchen.
This article will guide you through the process of how to extend kitchen island with legs, providing insights into design considerations, material selections, and building processes to help you create a smooth and beautiful extension that perfectly supports the unique features of your kitchen.
Preparation before extending kitchen island with legs
1. Available space and needs
Before beginning the process of adding legs to your kitchen island, it is important to properly examine both the available space and your particular needs. Consider the size of your kitchen and the present configuration of the island. Consider how the expanded island will fit into the overall flow of the area. Consider the practical factors, such as the extra countertop space needed for food preparation or the seating capacity required for informal dining. This first evaluation will influence decisions about the extension’s size, shape, and direction.
2. Evaluate kitchen island
Begin your kitchen island expansion project by analyzing your current island thoroughly. Examine the structural integrity, size, and general design of the structure. Consider the building materials and how effectively they may be matched or appreciated in the addition. Assess the present arrangement of appliances, storage, and any electrical outlets, as they will have an impact on the architecture of the extended area.
3. Selecting the ideal extension style
Consider both effectiveness and design integration while deciding on the best extension style for your kitchen island. One common alternative is to match the addition to the existing island perfectly, utilizing the same materials and finishes to create a unified design. Alternatively, you might choose a contrasting style to provide visual interest, using materials that complement but do not necessarily replicate the original island.
4. Planning extension layout
Effective extension layout planning is critical to ensuring the smooth integration of the expanded kitchen island into your culinary area. Begin by drawing up your ideas, taking into account where the legs will go and how they will relate to the current island structure. Consider the flow of the kitchen to ensure that the addition improves both efficiency and attractiveness. Plan for adequate legroom and easy access if the expansion includes seating.
5. Determining the extension size
The size of your kitchen island expansion is an important step in attaining a balanced and harmonious outcome. To create the proper mix of functionality and elegance, evaluate your specific needs and available space. If you’re primarily expecting to increase countertop space for meal prep, make sure the extension has enough area for chopping, mixing, and other kitchen tasks.
6. Choosing an island legs design
Choosing the proper style for your kitchen island legs is an important aesthetic decision that may have a significant impact on the overall appearance of your extended island. Consider the present style of your kitchen and select legs that either match or complement it. For a unified look, choose legs that match the original island’s, assuring consistency in materials and finishes. On the other hand, different leg designs can create visual fascination and serve as a focus point for the extended area.
7. Choosing the right legs for extension
The appropriate legs for your kitchen island extension necessitate a precise mix of appearance and usefulness. Consider your kitchen’s general design motif and choose legs that complement existing features. Decorated and twisted legs may match a more classic kitchen, yet sleek and straight legs may fit a more contemporary environment.
8. Material options for legs
Different material selections for the legs of your extended kitchen island might affect both the aesthetic and practical aspects of the project. Wooden legs, for example, provide a warm and historic feel, with forms ranging from twisted or carved to sleek and futuristic. Metal legs, on the other hand, may lend a contemporary and industrial aspect to your kitchen, giving a touch of modernism. Legs made of stainless steel or brushed nickel are long-lasting and corrosion-resistant, making them ideal for high-traffic locations.
9. Proper measurements
A good kitchen island expansion project begins with precise measurements. Measure the available area for the extension, taking into account the length, breadth, and height, before starting. To prevent potential impediments, pay attention to clearances for doors, walkways, and other kitchen elements.
10. Tools and materials required
A collection of supplies and tools are required to complete a kitchen island expanding project with legs. Here’s an exhaustive list to get you started:
Tools:
- Measuring tape
- Level
- Pencil and paper
- Circular saw or jigsaw
- Drill with bits
- Screwdriver
- Wood glue
- Countersink bit
- Sandpaper or a power sander
- Painter’s tape
Materials:
- Lumber or plywood
- Wood screws
- Bolts and nuts
- Wood glue
- Finishing materials
- Primer
- Protective finish
- Levelers (if needed)
Before beginning any project, make sure you have all of the required equipment and supplies to speed the process and obtain professional-looking results.
How to extend kitchen island with legs (Practical Guide)
This section will provide you with the necessary information and inspiration to change your kitchen island into a more adaptable and appealing centerpiece, whether you’re a seasoned DIY enthusiast or a newbie eager to get started on your first home renovation project.
1. Preparing the kitchen island
The preparation of the existing kitchen island is an important phase in the extension process. Begin by cleaning any things off the island, resulting in a clean and clutter-free workplace. Mark the locations where cuts will be made using painter’s tape to avoid any accidental damage to the surrounding surfaces.
2. Removing old countertops
Taking down old countertops is an important phase in the kitchen island expansion process. Begin by unplugging any appliances that are built into the current countertop, such as a sink or stove. As needed, turn off the water and gas supply. Detach the countertop from the base gently, using a screwdriver to remove any screws or fasteners. If the countertop is bonded or caulked, cut through the adhesive with a utility knife.
3. Installing support structure
It is important to install a strong support framework to ensure the stability and lifespan of your extended kitchen island. Begin by examining the existing island’s structure and, if required, strengthening it. Check the island’s straightness using a level and make any necessary adjustments. Consider adding support brackets or bracing beneath if the expansion includes more weight, such as a countertop overhang or seating space. Attach these supports to the island securely with screws or bolts to provide a solid connection.
4. Attaching the legs
Attaching the legs to your extended kitchen island is an important step in making your concept a reality. To begin, place the legs in the specified areas, making sure they are equally spaced and aligned according to your design. Check the legs’ plumpness with a level and make any necessary adjustments. Once you’re happy with the positioning, use screws or bolts to secure the legs to the support framework or directly to the island.
5. Installing new countertops
Adding new countertops to your kitchen island extension project is a game changer. Measure the enlarged space precisely, taking into account any overhangs or extra features. Whether it’s durable granite, elegant quartz, or traditional wood, choose a countertop material that compliments the existing island and meets your productive demands. Using a circular saw or other appropriate cutting instrument, cut the countertop material to the correct size, maintaining precision in your measurements. Apply any sealants or finishes required to protect the countertop from moisture and stains.
6. Securing extended surface
Securing your kitchen island’s wide surface is important for both safety and lifespan. Check that the new countertop is firmly secured to the support structure or legs after installation. Screws or brackets should be used to tightly anchor the countertop, avoiding movement or instability. If the expansion has an overhang for seats, make sure it is suitably supported so that the weight may be easily carried. To protect against moisture and spills, apply extra sealant or protective coatings to the countertop’s edges and joints.
Safety precautions
Working on a kitchen island extension with legs necessitates the use of potentially risky tools and materials. Prioritize safety by taking the following precautions to extend kitchen island with legs:
- When using power tools, wear appropriate safety equipment such as safety glasses, gloves, and ear protection.
- Make sure your workplace has adequate ventilation, especially if you’re dealing with paints, sealants, or adhesives.
- To avoid electrical mishaps, turn off electrical outlets and disconnect power to any appliances or fixtures in the nearby work area.
- Secure the current island to keep it from shifting during the project, lowering the possibility of accidents.
- To reduce the possibility of accidents or injuries, keep the workplace clean and orderly.
- Enlist the assistance of others if the project requires heavy lifting or awkward supplies.
- To guarantee that your project satisfies safety requirements, follow local construction laws and safety regulations.
You can reduce the chance of accidents with legs and provide a secure and regulated work environment by emphasizing safety throughout your kitchen island expansion project.
Conclusion
Adding legs to a kitchen island is a satisfying job that improves both usefulness and elegance. You may effectively change your kitchen area into a more adaptable and appealing hub for culinary activity by carefully planning, measuring, and applying safety precautions. Whether you complement the current style or incorporate opposing features, the key is careful execution and attention to detail.